Landscaping with Style
Design the Irrigation System
Design
Once the preliminary landscape plan is complete, you can plan an irrigation system that is appropriate for your xeriscape design.
When it comes time to repair and replace irrigation system components, your irrigation system design drawing will help to locate them easily. Without a drawing, you may spend hours digging in the yard to find and repair an irrigation problem.
In our area, ornamental plants, such as trees, shrubs, vines and groundcovers, are usually watered with a drip irrigation system. If you schedule watering times and maintain your drip system appropriately, this type of irrigation system can reduce evaporation and runoff, reduce weed growth and promote plant health by providing water to each plant's root zone, where it's needed most, without wetting leaves and soaking areas that don't need to be watered.

Learn About Irrigation Systems and Irrigation
Before drawing the irrigation system design, learn as much about irrigation as possible.
- Familiarize yourself with the basic components of a drip irrigation system and their placement
- Get a foundational understanding of how to water in the desert from the online Watering by the Numbers
- Attend classes in irrigation system design, installation and maintenance offered by local communities and organizations
- Download and review the Guidelines for Landscape Drip Irrigation Systems a technical reference guide for the design, installation and maintenance of residential drip irrigation systems
- Find the latest in water efficient irrigation materials by visiting local irrigation supply stores and by reading up on the subject
- When visiting irrigation supply stores, look closely at the irrigation system components and ask questions of the staff. If time is available, the sales staff should be able to review your plan for mistakes and offer advice on construction.
- In general, top quality materials will cost more to purchase, but will be more reliable and will require less maintenance in the long run.
- If designing and installing an irrigation system seems like an overwhelming task, consider hiring a landscape or irrigation professional to do this landscape component.
Drip Irrigation Fundamentals
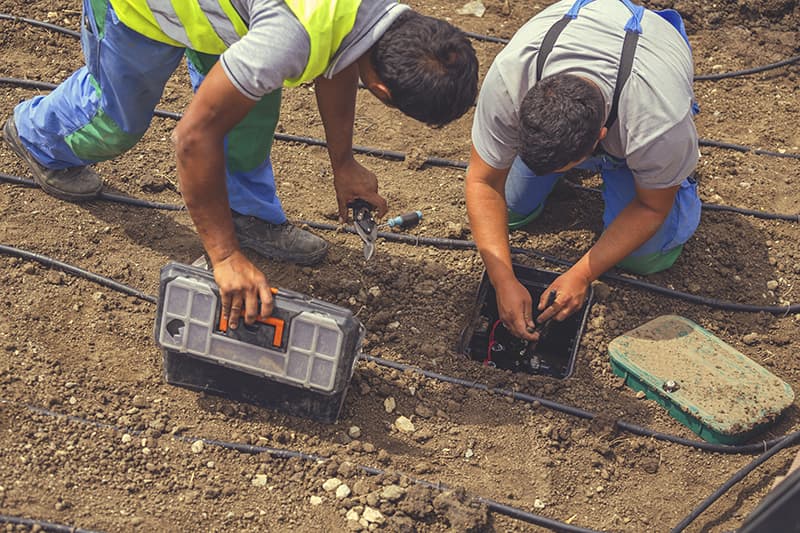
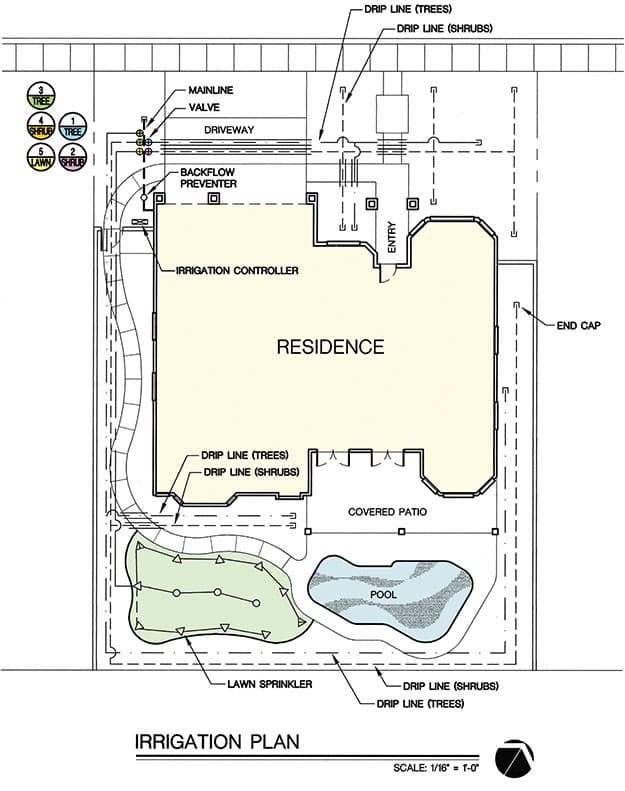
Here are some drip irrigation fundamentals to help get you started. The drawing below illustrates the typical placement of each of the irrigation system components. The following is a list of the irrigation system components.
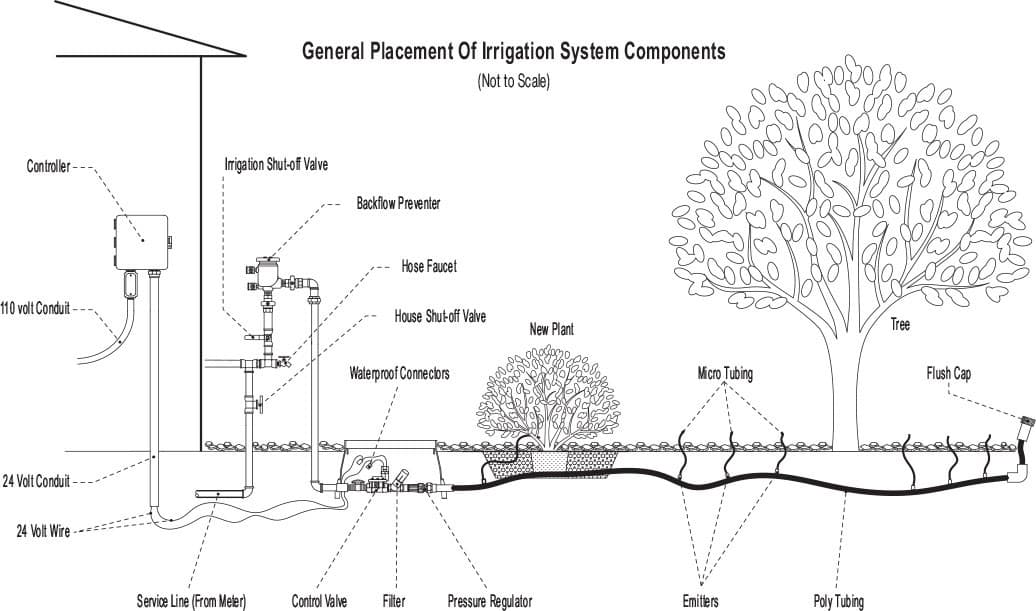
Controller/Timer
This controls the watering cycles by automatically activating the control valves on the days and times you pre-select, thereby directing when, how long, and how often the irrigation system operates.
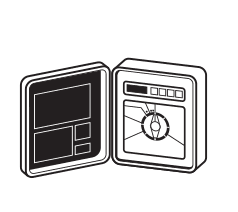
Control Valves
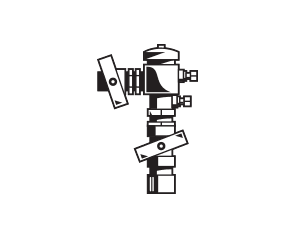
Manually or automatically operated control valves are used to turn the water on and off. Automatic control valves are wired to a controller.
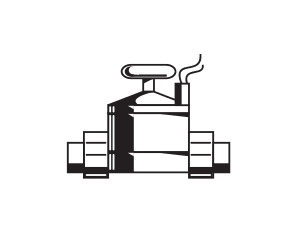
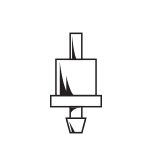
Pressure Regulator
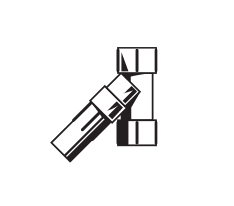
Most drip systems operate at low pressure, between 20 and 30 PSI (pounds per square inch). Pressure regulators reduce incoming water pressure to the ideal pressure for the drip system.
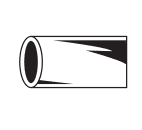
Micro Tubing
This delivers water from the emitters or poly tubing to the plants.
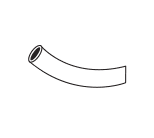
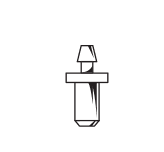
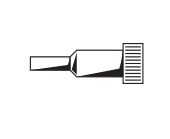
Goof Plugs
Tips
Accommodating different water needs by using multiple valves will allow you to apply water more wisely and efficiently
- If possible, put trees on a different valve from low water use shrubs, vines and groundcovers.
- Use a separate valve for vegetable gardens, areas dedicated to bedding plants, plants in pots and areas to be planted with other water thirsty plant material.
- If your landscape plan includes a turf area, use separate valves for the sprinkler system. This is necessary because sprinkler systems and drip irrigation systems apply water at substantially different rates.
Measure and measure again
- If your landscape plan is drawn to scale, calculate the amount of irrigation line needed by measuring distances on your landscape plan.
- Then, to verify the calculation, go outside and measure the actual distances. If the plan is not drawn to scale, measure the actual distances twice to avoid overestimating or underestimating the amount of irrigation line you will need. The same goes for sprinkler system lines.
Add it up, then buy a little extra
- Save time and frustration by buying a few extra irrigation system components prior to installing the irrigation system. If you break or lose parts during the installation process, you won't have to make extra trips back to the irrigation supply store.
- Also, having extras on hand will provide you with some spare parts for future repairs.
Draw the Irrigation Design
Review your landscape plan before beginning the irrigation system design. Although it is possible to use a blank copy of your site plan, many people find it easier to draw the irrigation system design on a copy of their landscape plan.
- Mark on your plan, the point where you plan to tie in to the water line that goes to your house. This is usually done near the front yard hose bibb. Many new homes have a stub-out (a protrusion with an end cap) on the riser pipe connected to the hose bibb for this purpose. This is where the backflow preventer should be placed.
- Mark the location of each emitter. Drip systems should be designed to accommodate the watering needs of mature plants. If you are not sure of the number and flow rate of emitters needed by each plant, the Drip Emitter Quantity Chart may be useful.
- Using colored pencils, shade emitters that will be supplied by the same valve with the same color (for example: blue for trees, pink for shrubs, vines and groundcovers, yellow for planting beds, etc.).
- Mark the location of the irrigation valves. They are usually placed next to the backflow preventer. Shade each valve to correspond with the colors you chose previously.
- Mark in the irrigation controller. Typically, it is installed next to an electrical outlet in the garage or by the breaker box outside.
- Add the irrigation lines (PVC pipe/poly tubing), connecting them from the valves to the emitters. Make them the same color as the emitters they will serve. Use straight lines whenever possible to optimize the water flow. It might be necessary to use tees and elbows to direct irrigation lines to all of the planting areas.

